|
|
|
|
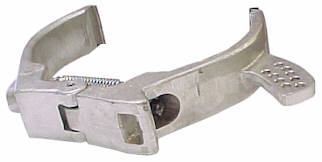
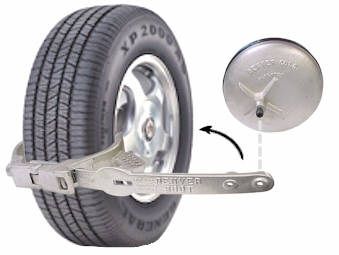
To begin installing the Denver Boot, first spread the
clamp open and slide over the tire onto the rim. Both edges of the clamp
have groves that are designed to fit on the lip of the rim. The spring
on the inside of the clamp will hold the clamp in place until the next
step. |
 |
|
|
|
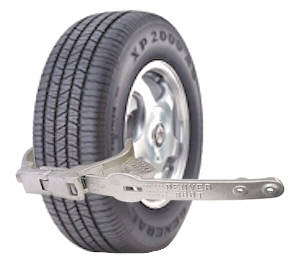
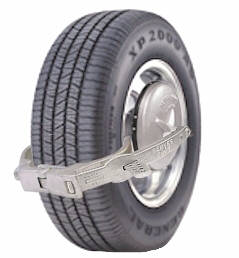
Take the hub cover and hold it against the face of
the rim. Swing the arm over the clamp making sure that the bolt on the
hub cover goes into one of the holes on the end of the arm.
|
 |
 |
|
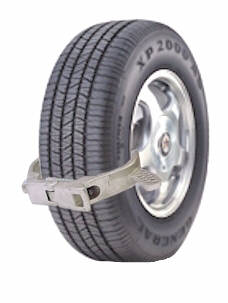
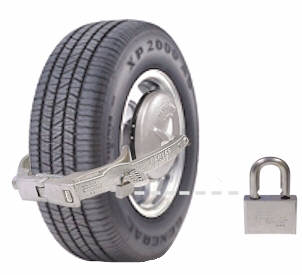
Insert the padlock in the closest open hole to the
edge of the arm. Tip: the lock will be much easier to remove if you
put it on upside down with the keyhole facing up. Do not do this during
freezing weather as melting snow might freeze the keyhole closed.
|
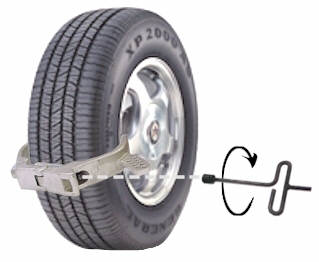
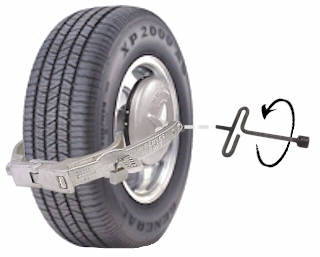
The final step is to turn the boot wrench counter
clockwise to apply pressure between the boot hub and the arm. The Denver
Boot is now securely attached to the wheel and the vehicle is immobilized.
|
 |
 |